
 In your quote
In compare
Equipment for Bricklayers
7055 products
The bricklayer builds and finishes masonry, plaster and screeds, but also drills, demolishes and levels. The collection brings together the tools and protective equipment for these tasks, with brands such as Pavan, Kimia, Stanley, DeWalt, Fervi, U-Power and Neri.
What you will find in this collection
- Trowels, spreaders and floats
- Analogue levelling and marking-out tools, tape measures
- Drill bits for granite, masonry and concrete, SDS Max drill bits
- Demolition bits and chisels
- Diamond cutting discs and diamond discs
- Carpenter's hammers, sledgehammers and pry bars
- Chemical anchors, application systems for adhesives and sealants
- Helmets, high safety boots, gloves and workwear
How to choose
- Trowel and float: choose the shape and size according to the type of work, whether brickwork or plastering.
- Drilling: the bit must suit both the material and the chuck of the rotary hammer.
- Discs: check the diameter and compatibility with the grinder.
- Protection: helmet, gloves and high boots are part of the basic kit.
To choose the models, quantities and compatibility that suit your work, request a quote: the AMES technicians will help you find the right solution.
Active filters:
Products in this collection
In your quote
In compare
 In your quote
In compare
 In your quote
In compare
 In your quote
In compare
 In your quote
In compare
 In your quote
In compare
 In your quote
In compare
 In your quote
In compare
 In your quote
In compare
 In your quote
In compare
 In your quote
In compare
 In your quote
In compare
 In your quote
In compare
 In your quote
In compare
 In your quote
In compare
 In your quote
In compare
 In your quote
In compare
 In your quote
In compare
 In your quote
In compare
 In your quote
In compare
 In your quote
In compare
 In your quote
In compare
 In your quote
In compare
 In your quote
In compare
Frequently asked questions: Equipment for Bricklayers
Which trowel or float should I choose for mortar and plaster?
Trowels, spatulas and floats are chosen according to the job: the trowel for picking up and spreading mortar, the spatula for smoothing and finishing, the float for levelling plaster. The polystyrene float suits fine finishing, while the one with an offset handle lets you work flat with less effort. Choose the blade size according to the surface to cover and how continuous the work is.
Which spirit level should I use for marking out a wall?
To mark out a wall you need a spirit level, a tape measure and a square. The compact level checks horizontal and vertical on small surfaces, while for long stretches a longer level is better. The tape measure is used to transfer measurements accurately. It is worth checking the level from time to time against a reference surface.
Which drill bits should I use for drilling masonry, granite and concrete?
Bits are chosen according to the material: granite requires specific bits, masonry requires hammer bits suited to the substrate. SDS Max shanks are for heavier rotary hammers and more demanding jobs. Use bits of the correct diameter for the planned wall plug, and remove the dust from the hole while drilling. Do not force the machine: let the bit work at constant pressure.
Which diamond blade should I choose for cutting building materials?
Diamond blades are chosen according to the material: concrete, stone, masonry and tiles call for different segments and characteristics. The blade is used dry or with water according to the manufacturer's instructions. Check that the maximum speed is compatible with the grinder. Use the guard, safety glasses and a mask suited to cutting dust.
How do I choose a manual tile cutter?
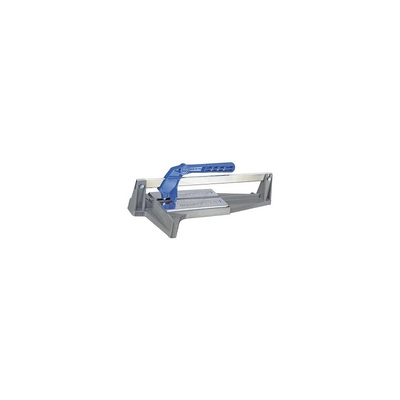
The manual tile cutter is chosen according to the maximum tile size, which in this collection goes up to 36 x 36 cm. The tungsten carbide wheel scores the glaze and the cut is completed with light pressure. Before cutting, fix the tile on the bench and check that the wheel is clean. Practise on an offcut to find the right pressure.
Which waterproofing product should I choose for damp masonry?
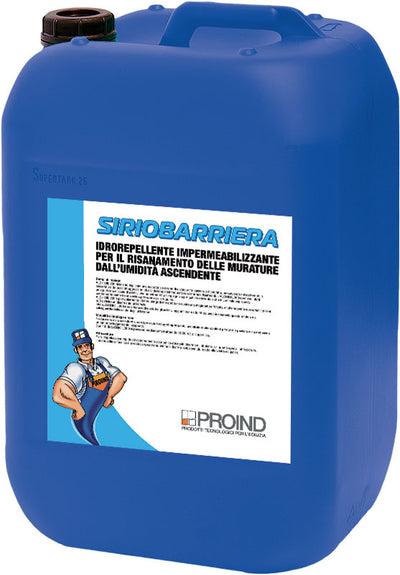
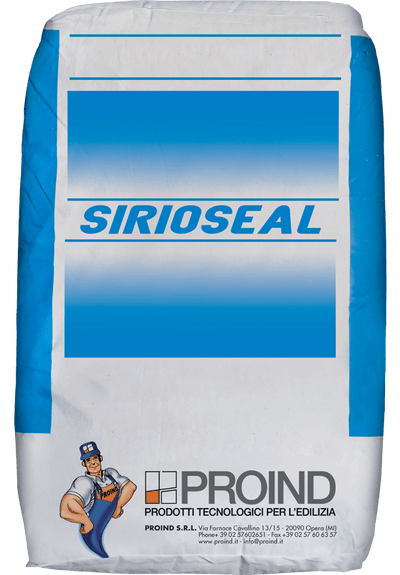
Waterproofing products for masonry are chosen according to the problem: rising damp, infiltration from below or leaks. Osmotic mortars and water repellents have different uses and must be applied on prepared substrates. Before applying, check the nature of the substrate and compatibility with any plasters. For structural problems or extensive infiltration, consult a technician before intervening.
How do I apply a joint cover tape with sealant?
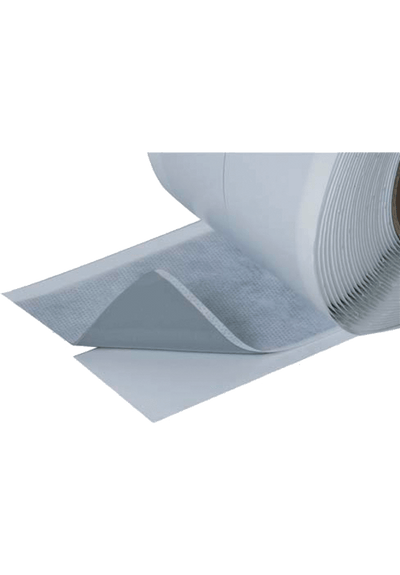
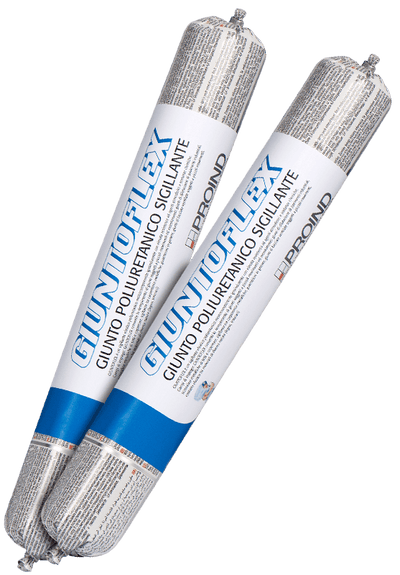
The elastic joint cover tape is applied over joints to absorb movement between two surfaces. It must be positioned on a clean substrate, pressing firmly to ensure adhesion. The polyurethane sealant completes the seal and can be painted after curing. Observe the times stated in the datasheet before exposing the joint to water or loads.